
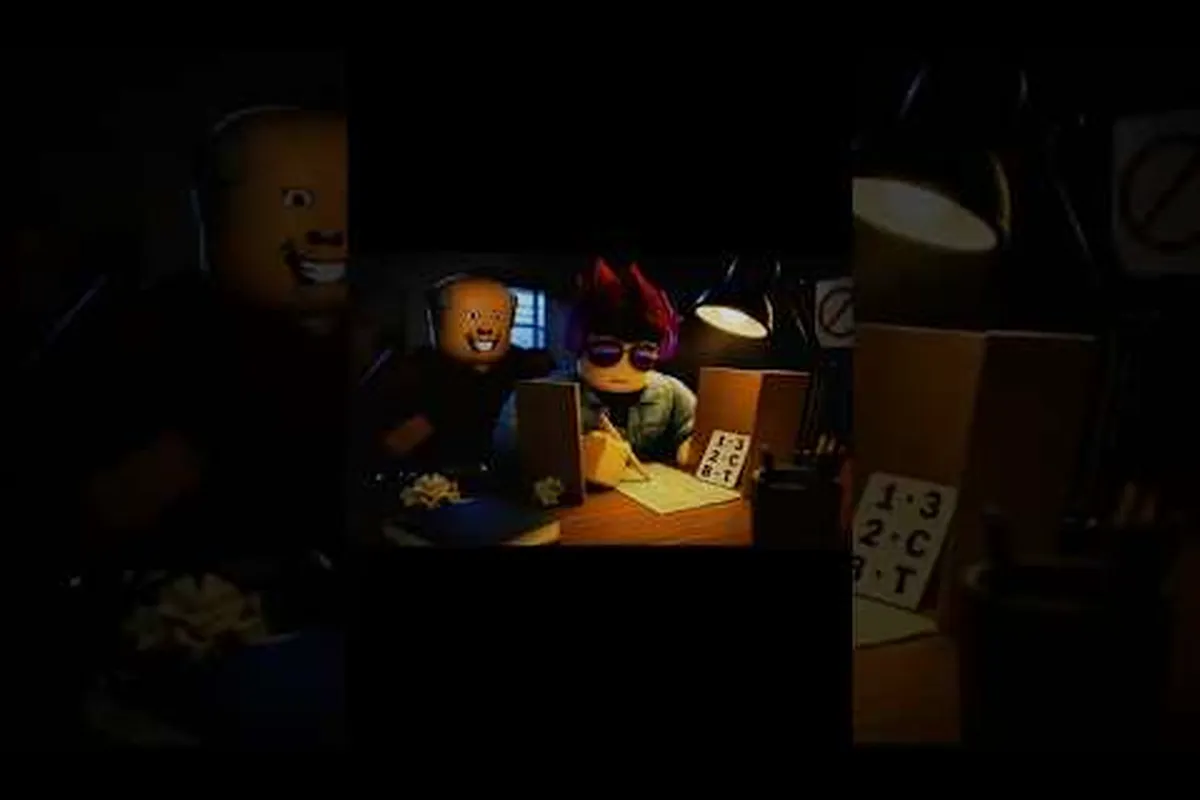
Cheating During Testing drops every player into a classroom where the difference between passing and failing is how well you vanish from the teacher's sightline. According to the official Cheating During Testing page on Roblox, the BETA stealth-survival loop revolves around Anxiety, Hunger, and Snitch exposure, which makes cheating during testing hiding from teacher routes the single most important skill to learn before you even open your phone. Master those patrol gaps and you can run the full exam timer without ever triggering a detention, because the teacher AI punishes hesitation far more than it punishes clever positioning.
How Teacher Paths Actually Work in the Classroom
The teacher in Cheating During Testing does not roam randomly — every teacher path follows a short scripted loop around the room, and once you understand the timing of those loops, cheating during testing hiding from teacher becomes a matter of counting beats rather than reacting to surprise glances. The teacher typically faces the board for a fixed window, then rotates to face the rows, then performs a mid-patrol sweep that covers a smaller cone of vision. When you understand that the three teacher movements always fire in the same order, you can pre-position between beats instead of scrambling after the fact.
Community testing shared by players on the Cheating During Testing YouTube showcase confirms that the teacher's facing direction and the cone of vision are the two values that actually drive detection, while raw distance matters far less than the angle. That is why the same desk can feel safe for one player and deadly for another, depending on whether they are sitting inside the cone or just outside it. If you are interested in the underlying AI more broadly, the teacher AI breakdown in Cheating During Testing teacher patterns beta covers patrol timers and staring behavior in more detail.
Patrol Window Lengths by Phase
Each teacher path in the current BETA build has a clearly defined duration for every phase, and these numbers come from repeated community runs rather than guesswork. Treat the table below as a baseline that holds for Normal difficulty; harder tiers shrink some of these windows and stretch others, which the difficulty section below will cover in depth.
| Phase | Teacher Facing | Approx. Duration | Detection Cone | Player Safe Zone |
|---|---|---|---|---|
| Board write | Board | 8-10 seconds | Narrow forward cone | Most desks are usable |
| Row scan | Student rows | 5-7 seconds | Wide sweep across all rows | Back corners and edges |
| Mid-patrol sweep | Walking | 3-4 seconds | Mid-width, follows walking path | Desks two seats away from the path |
| Snitch check | Closest student | 2-3 seconds | Locked on a single student | Every other desk is safe |
The table above is your cheat sheet for every cheating during testing hiding from teacher decision, because each phase has a single dominant risk vector. The Board phase is the safest time to pull out a phone, the Row scan is when you need to freeze, and the Mid-patrol sweep is when experienced players shift seats to pre-position for the next loop. Learning to read which phase you are in is the foundation of every teacher strategy that works.
Best Seats and Cover Spots for Fooling the Teacher
Fooling the teacher is mostly a geometry problem, and the classroom map in Cheating During Testing gives you a small but reliable set of desk configurations that consistently beat the detection cone. The corner seat advantage, the back row under the clock, and the side seat next to a tall NPC student are the three cover spots that players report working in roughly nine out of ten teacher phases. If you want a deeper look at how desks and seating change the math, the corner seat advantage in Cheating During Testing guide maps the front row, back row, and corner trade-offs side by side.
Seat Tier List (Solo Play)
The following ranking is built from community reports and the consistent behavior of the teacher path described above. Use it as a quick reference when you join a server and want to know where to sit before the first exam even loads.
| Seat Position | Cover Rating | Best For | Notes |
|---|---|---|---|
| Back corner, far side | S | Long cheats, multiple phone pulls | Outside the Row scan cone for ~70% of phases |
| Back row, middle | A | Steady phone use | Risk spikes during the Mid-patrol sweep |
| Side seat, tall NPC row | A | Anxiety-heavy runs | NPC blocks the teacher's line of sight on detection checks |
| Middle row, edge | B | Group play | Useful when a teammate sits next to you |
| Front row | C | Last resort | Exposed to nearly every phase; only safe during Board write |
| Center, middle | D | Avoid | Sits inside two cones at once; rarely worth it |
Notice that the best seats share a single property: they sit just outside the teacher's detection cone while still being close enough to a teammate for a quick signal. The S-tier corner seat is the one that experienced players gravitate toward, and the reason is simple — the cone barely brushes the edge of that desk, so even a slow phone pull is usually safe. That same logic is why cheating during testing outsmarting the teacher is more about seat choice than raw reaction time; you give yourself more safe frames before the round even starts.
Outsmarting the Teacher Across Every Difficulty Level
Difficulty levels in Cheating During Testing change the teacher's behavior in three ways: the patrol cycle gets shorter, the detection cone widens, and the teacher fakes become more frequent. The teacher difficulty levels cap out at Hard, where every phase except the Board write is effectively a trap, and the only consistent strategy is to time pulls to a 1-2 second safe window at the back of the loop. If you want a full breakdown of how detection and sightline scale across modes, the how the teacher works in Cheating During Testing page documents the math behind each cone.
Difficulty Comparison Table
The table below compares the three teacher difficulty levels you can run into in the current BETA build. Numbers are pulled from repeated community runs and may shift slightly with future patches, but the relative differences between tiers hold steady across every server.
| Difficulty | Cycle Length | Cone Width | Teacher Fakes per Loop | Recommended Strategy |
|---|---|---|---|---|
| Normal | ~22-26 seconds | Standard | 0-1 | Pre-position and time pulls to the Board write phase |
| Hard | ~16-18 seconds | Wide, ~25% larger | 1-2 | Pull only during Snitch check on a corner seat |
| Insane | ~11-13 seconds | Full-room during sweeps | 2-3, often back-to-back | Use teammate distractions and never hold a phone longer than 1 second |
The pattern across the three tiers is that the cycle compresses and the teacher fakes get more frequent, so what works on Normal becomes a one-frame mistake on Insane. That is also why the cheats that work on Normal — pulling out a phone, taking your time, sneaking glances at the test paper — are the exact same moves that get you caught on Insane. The teacher AI is tuned so that every teacher strategy that ignores fakes eventually breaks, and the only consistent answer is shorter pulls, smarter seat choice, and a teammate acting as a decoy.
Teacher Fakes, Decoys, and How to Read Them
Teacher fakes are the single biggest reason new players fail at cheating during testing fooling the teacher, because they look identical to real rotations until the last half-second when the teacher pivots back instead of committing to the turn. The current BETA build has at least two distinct fakes per loop on Hard and three on Insane, which means that any pull you do based purely on the first beat of a rotation is gambling with the timer. Reading the fake correctly comes down to three signals: the teacher's head tilt, the speed of the pivot, and whether other students in the cone are also reacting.
The head tilt is the easiest tell, because a real turn moves the teacher's chin past the shoulder line while a fake rarely crosses the midpoint. The pivot speed is the second tell, since real turns take a full beat while fakes snap back in roughly half the time. The student reaction is the third tell, because nearby NPCs will startle on a real rotation and stay calm during a fake. Stacking all three signals is how experienced players run Hard and Insane servers without ever triggering a detention, and it is also why teacher fakes are the most underrated mechanic in the entire BETA.
Fake vs. Real Rotation Checklist
The checklist below is the exact decision tree experienced players use when they have to pull a phone mid-loop. Run it in order and you will get a clean read in under one second, which is fast enough to beat every difficulty tier the game currently ships.
-
Head tilt check — Does the teacher's chin cross the shoulder midpoint? If yes, treat it as a real rotation. If no, treat it as a fake.
-
Pivot speed check — Did the turn take a full beat or a half beat? Full beat = real. Half beat = fake, even if the tilt looked real.
-
Student reaction check — Did nearby NPCs startle? Yes = real. No = fake or Snitch check, either way do not pull.
-
Phase context check — Are you currently inside the Row scan or the Mid-patrol sweep? If yes, default to no pull regardless of the other signals.
-
Decoy availability check — Is a teammate positioned to draw the teacher's attention? If yes, you can pull on a borderline read. If no, hold.
Solo vs. Multiplayer Routes for Hiding From the Teacher
The teacher strategy you pick depends heavily on whether you are running solo or in a group, because the AI behavior shifts in multiplayer in ways that most beginners do not expect. According to the Cheating During Testing Roblox store page, multiplayer sessions add extra students and a second teacher variant on some maps, which means solo paths and group paths cannot be reused interchangeably. If you want the full multiplayer scaling ruleset, the team play in Cheating During Testing guide covers how the teacher AI changes when more players are in the room.
Solo play rewards patience and corner seating, because you have no decoy and any teacher fakes are guaranteed to fall on you. Group play rewards coordinated distraction, because a teammate who pulls a phone at the wrong moment can absorb the Snitch check and leave the rest of the group free to operate. The table below maps the routes that experienced players use in each mode, along with the failure mode you should expect if you cut corners.
| Mode | Best Route | Key Mechanic | Common Failure |
|---|---|---|---|
| Solo | Back corner, pull only during Board write | Patience, single-pull discipline | Pulling during the Row scan and getting caught on a fake |
| Duo | One decoy on side row, one cheater on corner | Decoy rotation every 2 loops | Decoy burns out, second player has no backup |
| Trio | One decoy, one cheater, one Anxiety manager | Snack drops to keep Anxiety below threshold | Decoy and Anxiety manager roles collapse into one player |
| 4+ players | Two decoys flanking, two cheaters rotating | Staggered pulls on alternating phases | Everyone pulls at once, Snitch check catches the room |
The pattern across all of these routes is that the role of decoy is just as important as the role of cheater, especially once you cross the Hard difficulty line. A solo player has to absorb every Snitch check and every teacher fake alone, which is why the corner seat exists — it gives you a small buffer to ride out a bad read. A group player can spread the buffer across two or three decoys, which is how experienced duos and trios clear the harder teacher difficulty levels without anyone failing an exam.
Anxiety, Hunger, and Why Cover Spots Stop Working
Cover spots and teacher paths are only half of the cheating during testing hiding from teacher problem, because Anxiety and Hunger quietly degrade your performance the longer the exam drags on. The Anxiety bar ticks up every time the teacher faces your row, every time a Snitch raises a hand, and every time you stay frozen for too long without pulling. Hunger ticks down on a fixed timer and accelerates your Anxiety gain, which is why snacks matter even when you are sitting in an S-tier corner seat.
A player who is sitting in the back corner but who has not eaten in three minutes will start failing cheats even with perfect timing, because the Anxiety multiplier makes the detection cone effectively wider. Community testing shared on YouTube clips confirms that the Anxiety and Hunger systems are tuned so that any teacher strategy that ignores them breaks down by the halfway point of a long exam. The fix is to keep at least one snack item in your inventory at all times, eat it the moment Anxiety crosses the 60% mark, and reset your position only after the snack has been consumed.
Frequently Asked Questions
What is the safest seat for cheating during testing hiding from teacher on Normal difficulty?
The back corner, far side of the room, is the safest seat because it sits outside the Row scan detection cone for roughly 70% of phases. Combined with pulls timed to the Board write phase, it gives you a long, repeatable safe window that almost any phone can fit inside. Beginners should lock this seat first and only consider side or front seats once they have read the teacher fakes correctly.
How do I tell the difference between a teacher fake and a real rotation?
The head tilt is the easiest tell — a real turn crosses the shoulder midpoint while a fake rarely does. Pivot speed is the second tell, since real turns take a full beat and fakes snap back in roughly half the time. Student reaction is the third tell, because nearby NPCs startle on real rotations and stay calm during a fake, so stacking all three signals is how experienced players read fakes correctly.
Do teacher paths change in multiplayer sessions?
Yes, multiplayer sessions add extra students, and on some maps a second teacher variant, which is why solo routes cannot be reused in group play. The patrol cycle still follows the same phase order, but the detection cones shift to cover the new seating positions. Coordination with at least one decoy teammate is the cleanest way to clear the harder teacher difficulty levels in group play.
How do teacher difficulty levels affect the cheating during testing teacher strategy?
On Normal, the cycle is long and the cones are narrow, so timing pulls to the Board write phase is usually enough. On Hard, the cones widen and one to two fakes appear per loop, so you must restrict pulls to the Snitch check phase on a corner seat. On Insane, the cycle compresses to roughly 11-13 seconds and two to three fakes appear per loop, which means every pull must be one second or shorter and almost always relies on a teammate acting as a decoy.
Can I avoid the teacher entirely without a decoy teammate?
You can get close to it on Normal by sitting in the back corner and only pulling during the Board write phase, but the teacher fakes on Hard and Insane will eventually catch you. Without a decoy, the longest consistent stealth streak on Hard is roughly three to four loops, and on Insane it drops to one to two loops. Adding even one decoy teammate roughly doubles both streaks, which is why duo and trio play are the recommended routes for the harder teacher difficulty levels.
Executing precise desk concealment and staying attuned to environmental cover ensures that the teacher's sweeping vision cone passes overhead without interrupting your cheat progress. To refine your timing around the teacher's most perilous patrol phases, explore our teacher turning around breakdown to master dual-channel audio and visual cues.